Blackberry Jam
The True Taste of an English Autumn
I love blackberries. And I do love picking them. Blackberries are one of the truly wild foods left to us and even if I can't spare the time to collect a whole basketful, I still have to stop by the roadside every now and then and collect a few. Even if they're just eaten as they are.
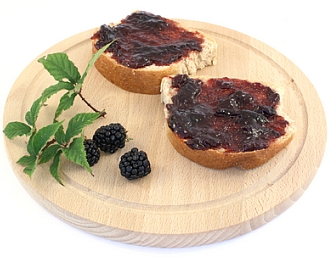
But they're immensely useful in the kitchen, too. Partnered with apples they make delicious cakes and crumbles. They can be turned into relishes and chutneys and beautifully flavoured vinegars. And turned into Blackberry Jam they enliven the breakfast table.
But for my money, blackberry jam has another trick up its sleeve: it's wonderful in jam tarts!
Blackberries tend to be extremely sweet when ripe, so they can be made with less sugar. To help with setting the jam, I often add some apple juice or even a grated apple or two to the berries and I find that this works very well. I've even made Blackberry and Apple Jam at times and it tastes wonderfully like an autumn crumble!
How to Make Blackberry Jam
Carefully wash your blackberries. Weigh them and place into your jam pan with half the quantity of sugar. Stir carefully and leave to stand until the juices run and the sugar begins to dissolve - about 30 minutes.
Place a small plate into the fridge. You want this to test the set of your jam later.
Wash and sterilise your jam jars, by washing them in hot soapy water and leaving them to dry in a very low oven.
Add the grated rind of a lemon to your blackberries and sugar, then add either a grated apple or 250ml / 8 fl oz apple juice.
Place the jam pan on a low heat and warm until the sugar is dissolved. Then turn up the heat and bring the jam to the boil.
When bubbling add the juice of 2 lemons. The jam will surge up. Boil for 5 minutes, then take off the heat and test for set by placing a teaspoon of jam onto the plate from the fridge.
As the jam cools, the surface of the jam should wrinkle when pushed with a finger. If it's still too runny, return to the heat and boil for another five minutes before testing again.
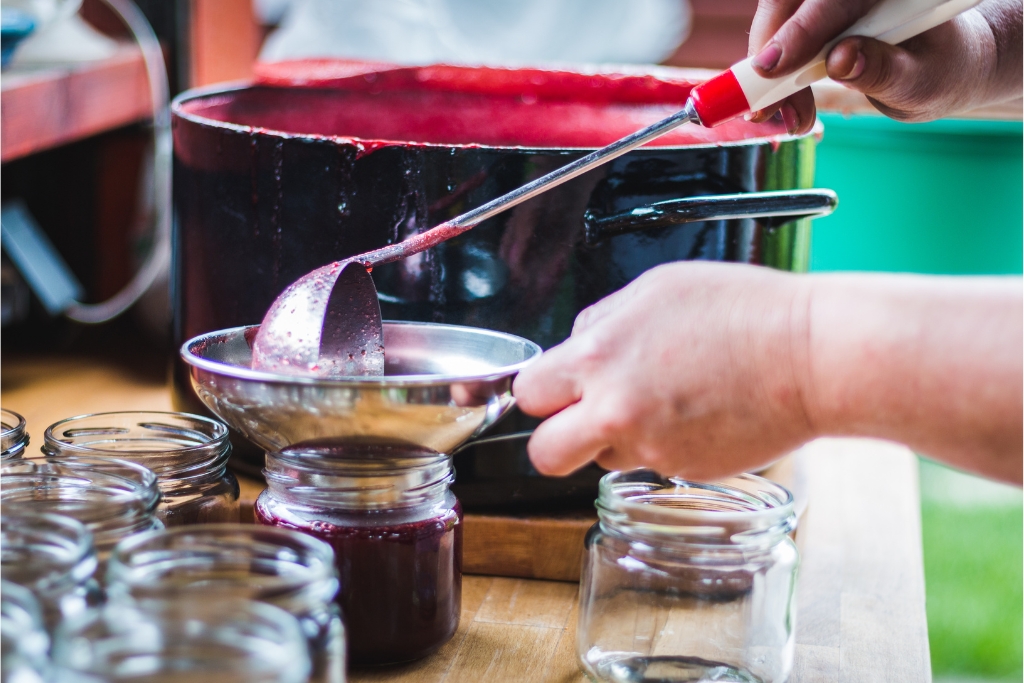
Leave to cool for half an hour before filling into jars. Seal the jars well and store them upside down until completely cool. Label and keep in a cool, dark place until needed for breakfast or jam tarts.
 Blackberry Jam © Ledo | dreamstime.com
The Jam Maker's Toolkit
Making jam is fun and easy. It's even easier with the right tools. You don't need to spend a lot of money. Jam jars can be recycled, and if you need to replace some, they don't cost a lot. Spoons, labels and a jam funnel will only set you back a few pence. Your biggest investment will be a traditional, slope-sided jam pan. But once you've bought it, it will last you for many, many years.
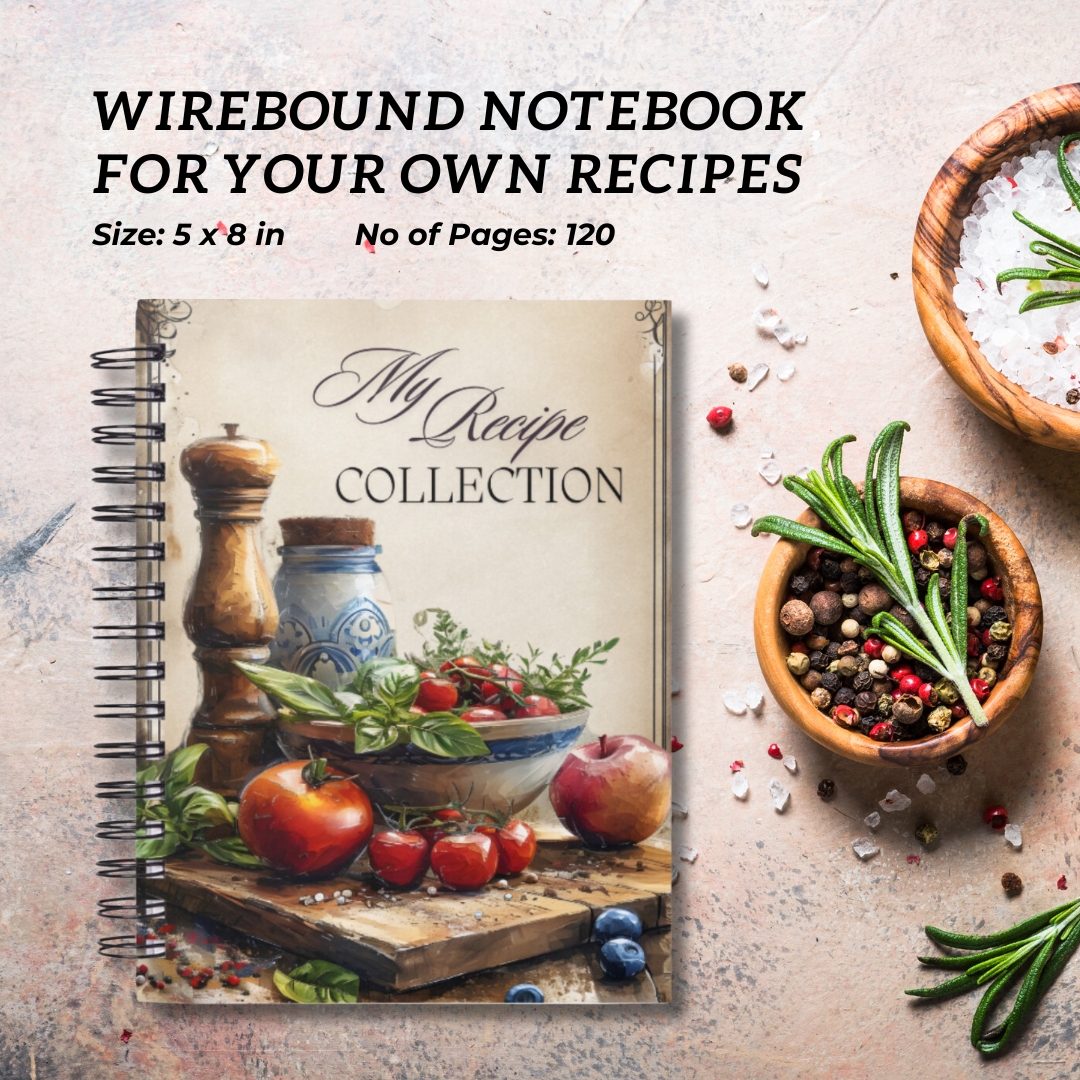
How do you keep your recipes?
Are you a passionate cook or baker with a treasure trove of old, beloved recipes scattered around your kitchen? Let me help you organise and preserve your culinary heritage in style.
These elegantly designed blank recipe notebooks don't take up much room, but with their user-friendly layout and durable design, they offer plenty of space for your recipe collection. This recipe keeper notebook is your perfect kitchen companion. And filled with their favourite recipes it makes a great gift for children heading to college - or even as a wedding gift.
For more jam recipes return from Blackberry Jam to the recipes page.


